TypingDNA Verify 2FA Integration with Symfony - Standard Integration
Goal
This tutorial will help you integrate Verify 2FA into an existing Symfony application in order to increase its security by providing a complementary identity verification mechanism (2FA).
Intro
In this tutorial we will create a new Symfony project, add basic user authentication to it, and then add Verify 2FA.
We will cover all the necessary steps to get this working on a local machine
To make the example as portable as possible we will be using Docker. For the purposes of this article we will be using an Ubuntu box, but the same should be replicable on any other platform.
Prerequisites
There are a few preparatory steps that must be followed in order to end up with a working application:
That’s it! You’re ready to start building your app.
Local environment
We will be using three different docker containers: php, nginx and database. Since all of them will be physically located in the same development machine, we will use docker-compose to easily interact with them.
Create a new directory to hold the project and inside of it create a docker-compose.yml file that looks like this:
With all this in place you’re ready to start your containers and start building your application in a local LEMP environment.
Use this command to get things going:
docker-compose up -d
Creating the project
The symfony binary is installed inside the php container, so let’s use it to create a new project:
docker-compose exec php symfony new . --full
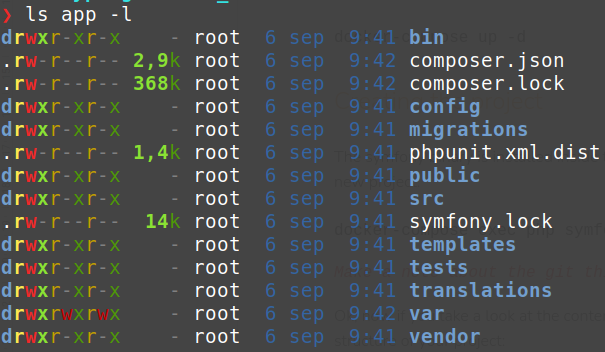
Now, if you take a look at the contents of the app directory you’ll find the basic structure of your project:
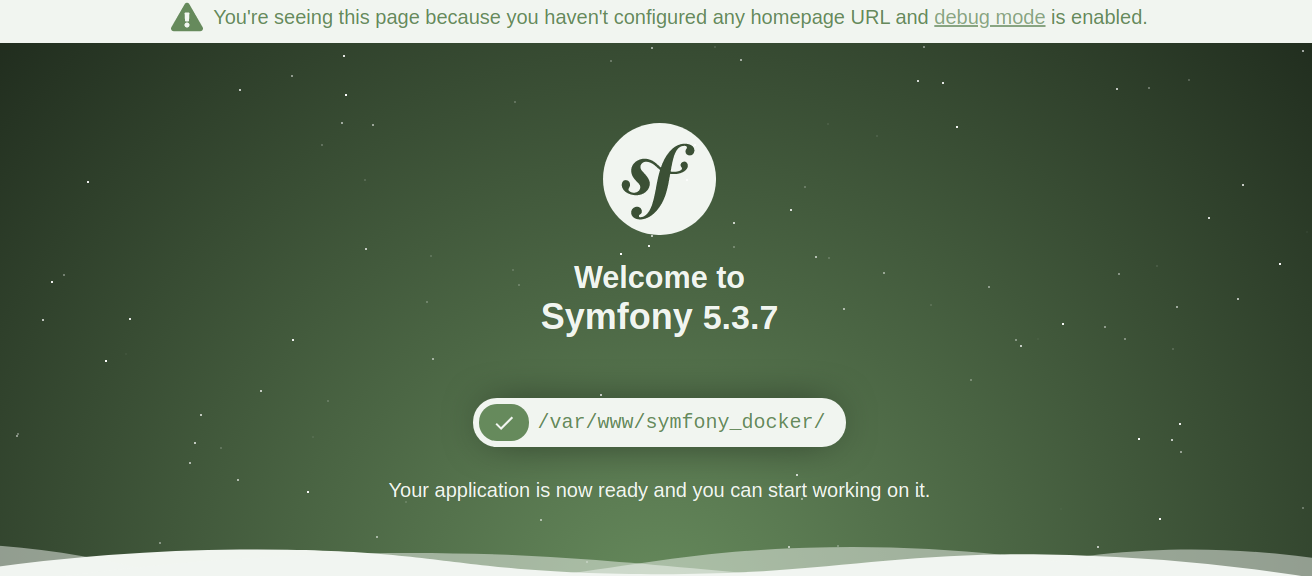
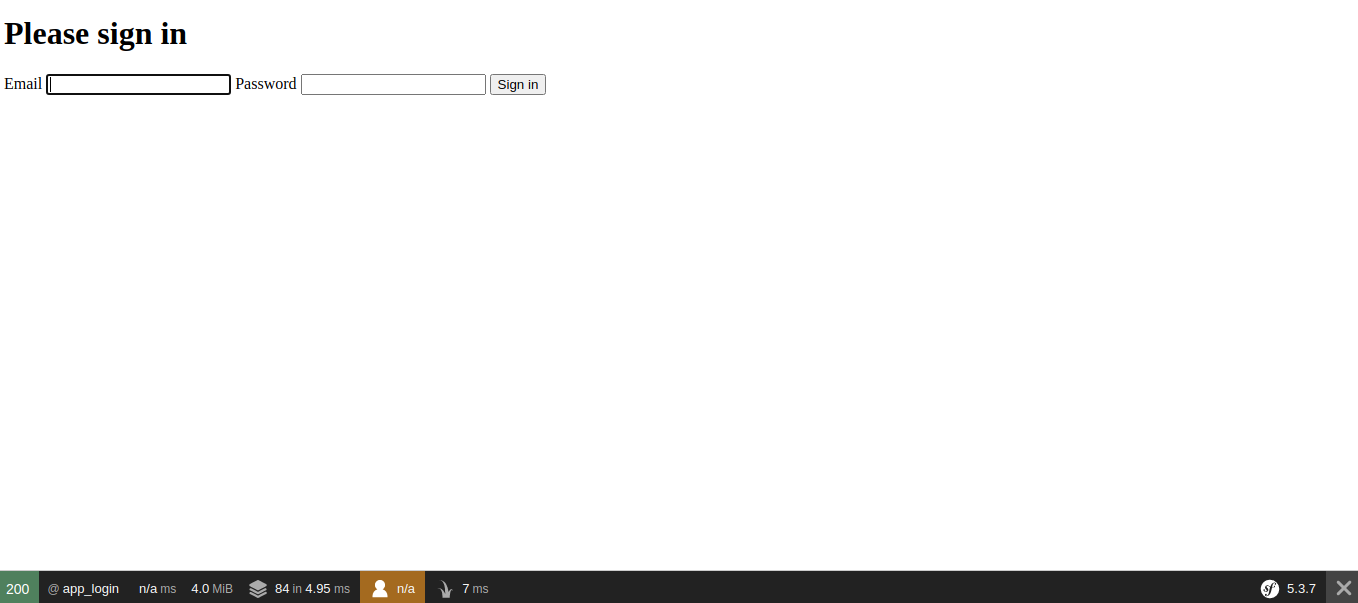
If everything is in place you should be able to see this:
When pointing your browser to http://localhost:8080
Adding basic authentication
To add user authentication we need to perform the following steps:
Create the User class
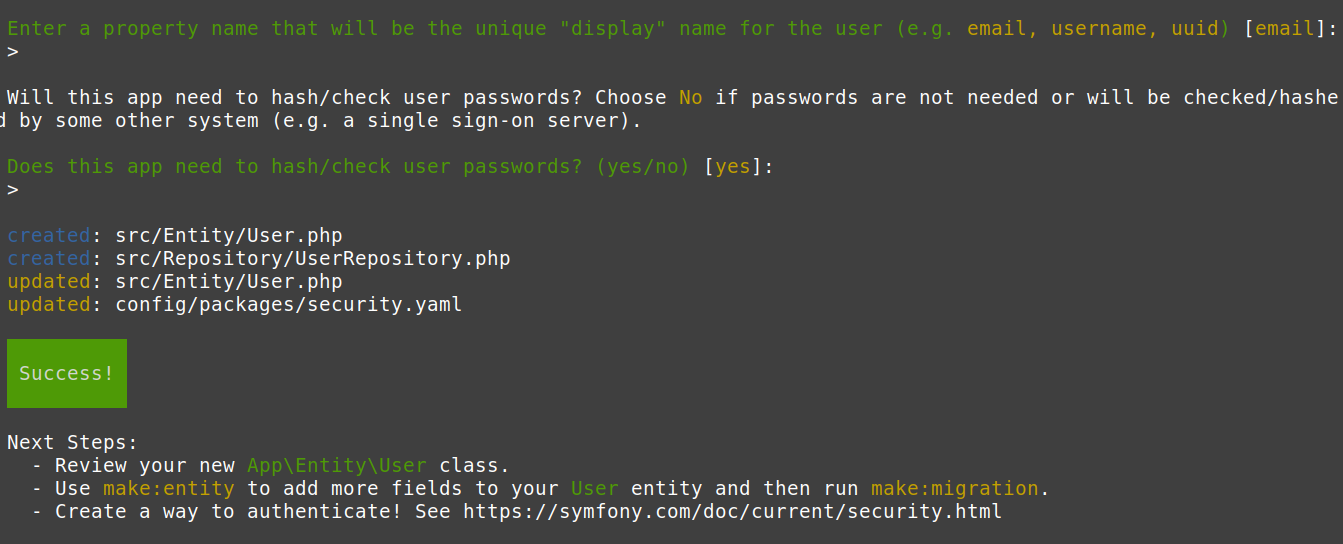
Run the command docker-compose exec php symfony console make:user to have symfony create the User class.
Use the default answer for all the questions and you should end up with this screen:
Configure the database
Before you can execute any commands on the database, you need to configure the access information.
Start by copying the file app/.env to app/.env.local, then edit the latter to look like this:
# In all environments, the following files are loaded if they exist,
# the latter taking precedence over the former:
#
#  * .env                contains default values for the environment variables needed by the app
#  * .env.local          uncommitted file with local overrides
#  * .env.$APP_ENV       committed environment-specific defaults
#  * .env.$APP_ENV.local uncommitted environment-specific overrides
#
# Real environment variables win over .env files.
#
# DO NOT DEFINE PRODUCTION SECRETS IN THIS FILE NOR IN ANY OTHER COMMITTED FILES.
#
# Run "composer dump-env prod" to compile .env files for production use (requires symfony/flex >=1.2).
# https://symfony.com/doc/current/best_practices.html#use-environment-variables-for-infrastructure-configuration

###> symfony/framework-bundle ###
APP_ENV=dev
APP_SECRET=eff7b8b9f7a76270b8c35130179d1b5a
###< symfony/framework-bundle ###

###> symfony/mailer ###
# MAILER_DSN=smtp://localhost
###< symfony/mailer ###

###> doctrine/doctrine-bundle ###
# Format described at https://www.doctrine-project.org/projects/doctrine-dbal/en/latest/reference/configuration.html#connecting-using-a-url
# IMPORTANT: You MUST configure your server version, either here or in config/packages/doctrine.yaml
#
# DATABASE_URL="sqlite:///%kernel.project_dir%/var/data.db"
DATABASE_URL="mysql://symfony:symfony@database:3306/symfony?serverVersion=8.0"
# DATABASE_URL="postgresql://db_user:db_password@127.0.0.1:5432/db_name?serverVersion=13&charset=utf8"
###< doctrine/doctrine-bundle ###
Update the database
This is a two step process. First we’ll create the appropriate migration through the command docker-compose exec php symfony console make:migration.
Then run the migration: docker-compose exec php symfony console doctrine:migrations:migrate -q.
Create the login form
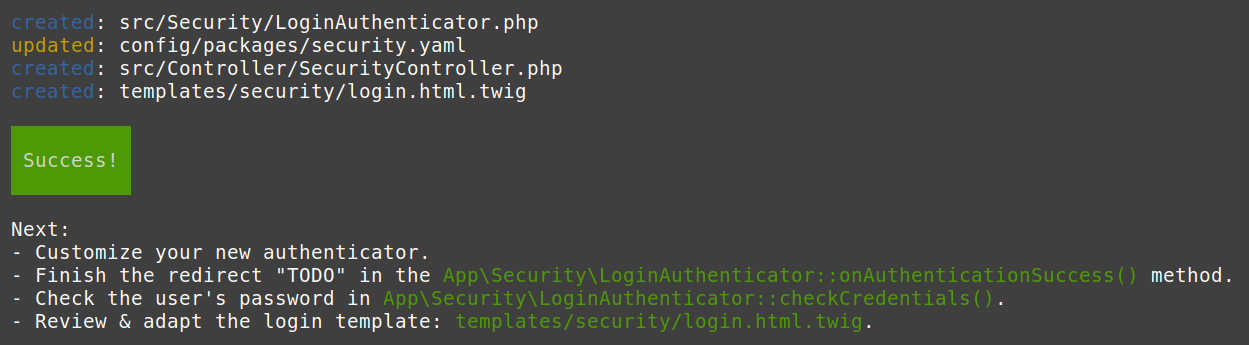
Use the command docker-compose exec php symfony console make:auth to get this done efficiently.
Answer 1 when prompted What style of authentication do you want? [Empty authenticator]
Answer LoginAuthenticator when prompted The class name of the authenticator to create (e.g. AppCustomAuthenticator)
Then keep the defaults until you see a screen that looks like this:
Create the first user
For this we’re going to use Doctrine’s Fixtures feature, which must be installed.
Use the command docker-compose exec php composer require orm-fixtures --dev to have composer install and configure it for you.
Once done, issue the command docker-compose exec php symfony console make:fixtures UserFixtures to have symfony create all the necessary code for you to start putting contents into the database.
Edit the file app/src/DataFixtures/UserFixtures.php to make it look like this:
<?php

namespace App\DataFixtures;

use Doctrine\Bundle\FixturesBundle\Fixture;
use Doctrine\Persistence\ObjectManager;
use Symfony\Component\PasswordHasher\Hasher\UserPasswordHasherInterface;
use App\Entity\User;

class UserFixtures extends Fixture
{
        private $passwordHasher;

        public function __construct(UserPasswordHasherInterface $passwordHasher)
        {
            $this->passwordHasher = $passwordHasher;
        }

    public function load(ObjectManager $manager)
    {
        $user = new User();
        $user
            ->setPassword($this->passwordHasher->hashPassword($user, 'p4ssW0rd!'))
            ->setEmail('YOUR_EMAIL')
            ;

        $manager->persist($user);
        $manager->flush();
    }
}
Load the fixtures into the database: docker-compose exec php symfony console doctrine:fixtures:load -q
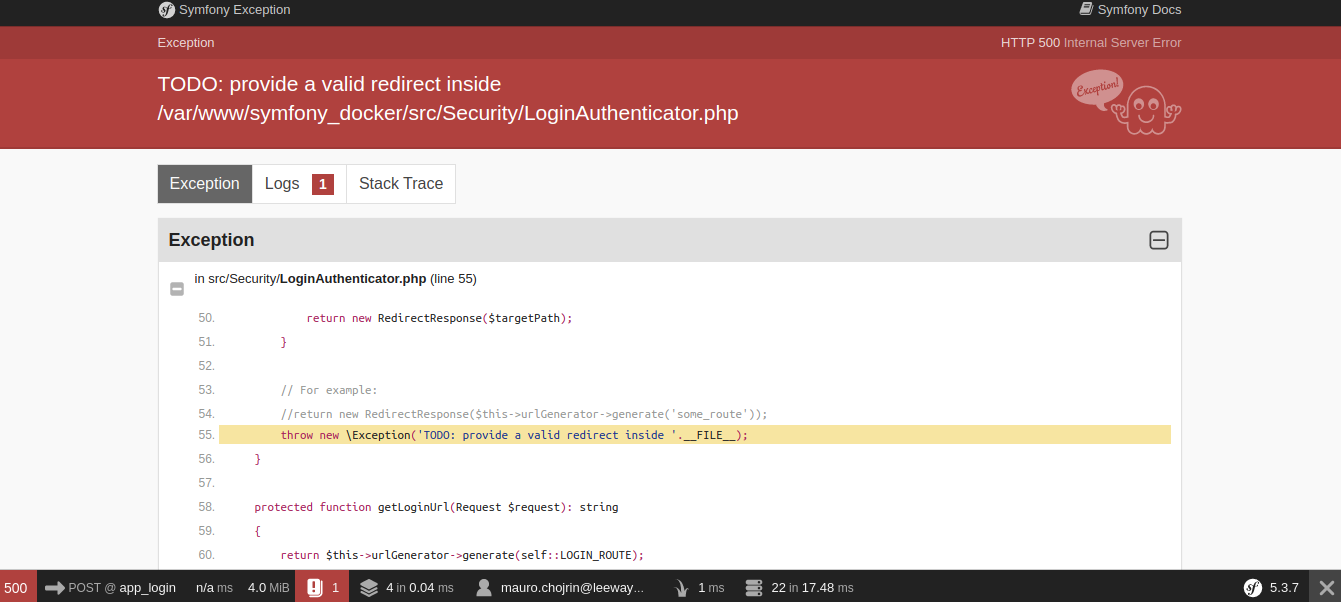
There’s just one little detail missing: you need to connect the dashboard with the valid login. To do that you’ll need to edit the file app/src/Security/LoginAuthenticator.php and change the method onAuthenticationSuccess to look like this:
public function onAuthenticationSuccess(Request $request, TokenInterface $token, string $firewallName): ?Response
{
    if ($targetPath = $this->getTargetPath($request->getSession(), $firewallName)) {
        return new RedirectResponse($targetPath);
    }

    return new RedirectResponse($this->urlGenerator->generate('dashboard'));
}
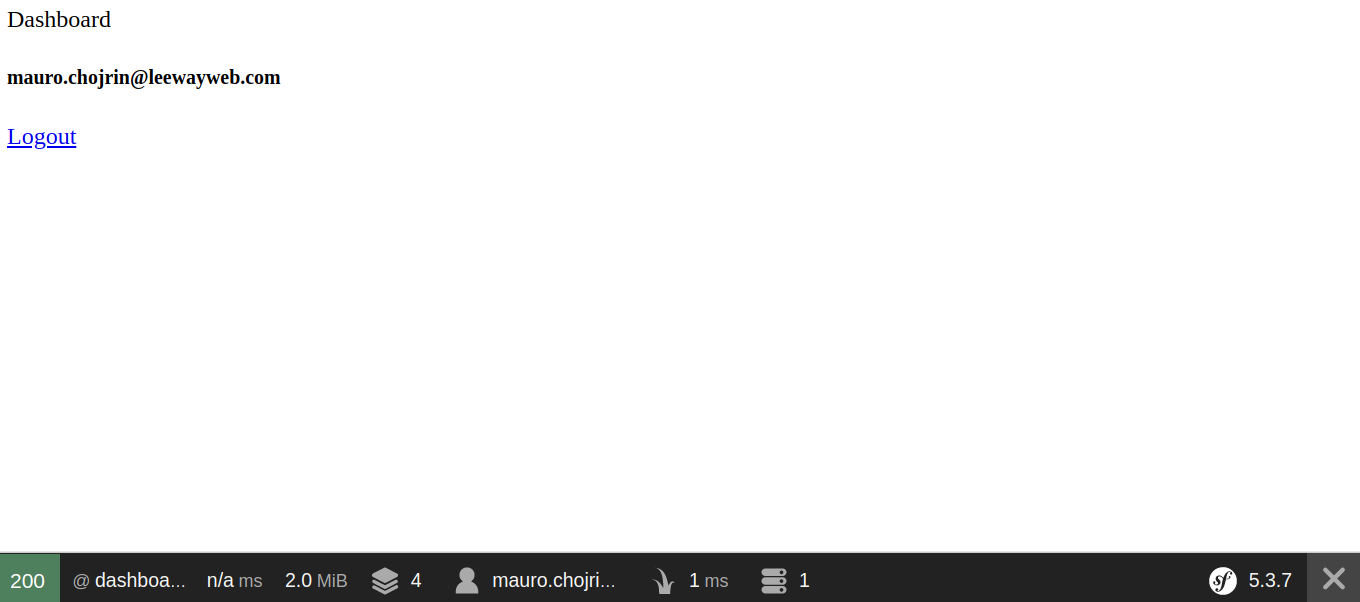
Save the file, reload the page in the browser and you should see:
Great! Now you have a simple Symfony application that has a login and a protected area.
But, is it really protected? Look at what would happen if you logged out and tried to go straight to http://127.0.0.1:8080/dashboard
We have to fix that.
Fortunately, doing so using Symfony is really simple: just edit the file app/config/packages/security.yaml and change the definitions under the key access_control to:
And there you go. If someone tries to go directly to your dashboard they’ll be immediately redirected to the login page.
This security can be enough in some cases, but if you really want to make sure people are who they say they are, you better take some extra measures, like using a Two Factor Authentication mechanism.
For that, Verify 2FA is a great option, both for the user and, as you’ll see, also for you, as it is really simple to set up.
The way I did it (and I suggest you do it too) is to build a wrapper class around it so your application can be prepared for upcoming versions of the library (but you could use this one directly if you want).
Create a directory called TwoFactorAuthentication inside your app/src directory and place the file TypingDNAVerifyClient.php that you just downloaded in there.
Open the file and add namespace App\TwoFactorAuthentication; at the top.
Next, create a new file called TypingDNAWrapper.php in the same directory.
The idea of this wrapper is to simplify the interaction with the TypingDNA API by serving as a repository for the common information that must be exchanged in every call (The ClientId, ApplicationId and secret).
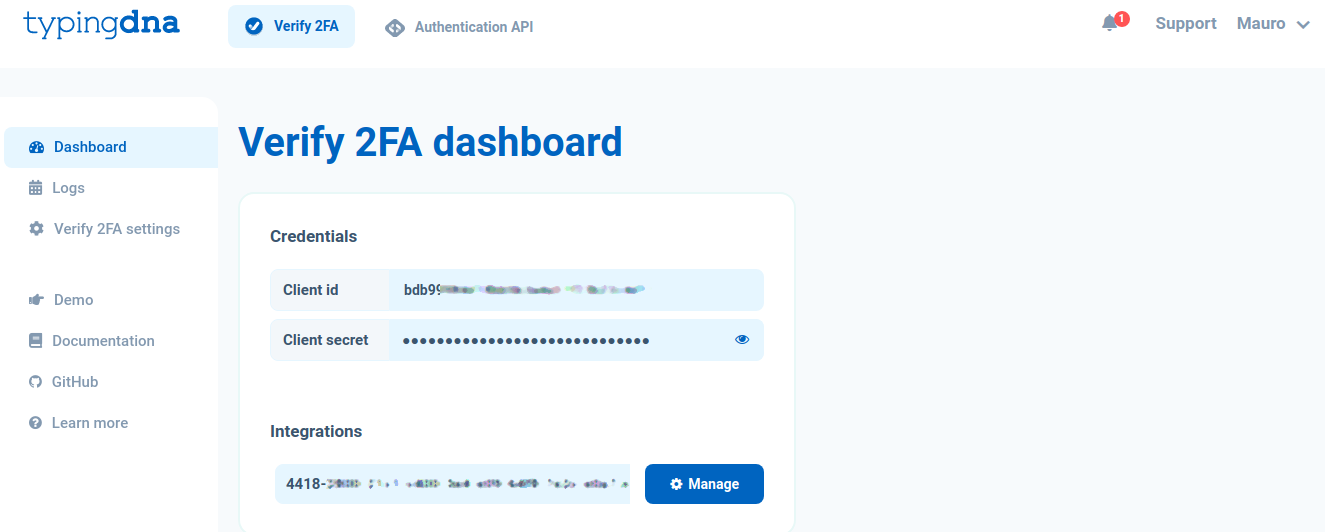
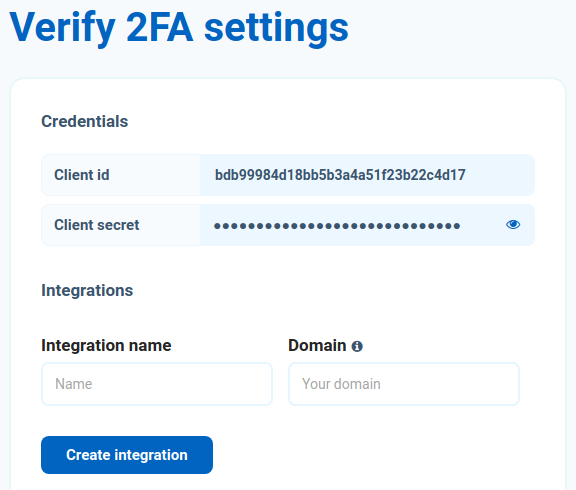
Configuration
This information can be obtained from your Dashboard. Go to Verify 2FA Settings
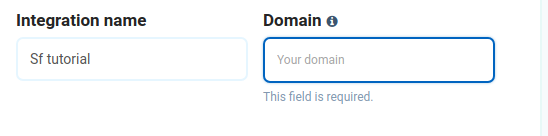
Enter “Sf tutorial” in the field “Integration name”:
For the Domain field you’ll need a public domain name that points to your application.
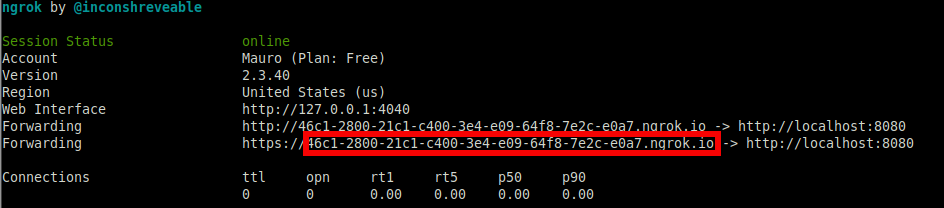
Since you have an NginX server listening on port 8080 on your local machine (port 8080 being forwarded to port 80 on nginx docker container), you need a way to expose that to the Internet.
Here’s where ngrok comes into play.
Simply open a separate terminal and run the following:
ngrok http 8080
Then take the information of the https forwarding:
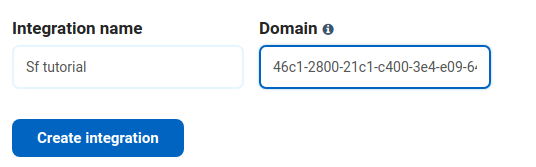
And paste it into the domain field of the integration definition:
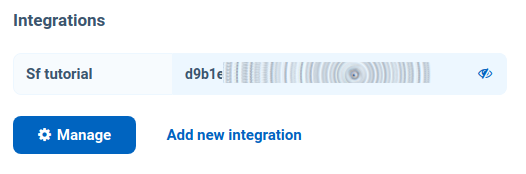
Click “Create integration”.
This will result in an application id:
In order to have all this information injected into the service we’ll leverage Symfony’s configuration system.
Let’s start by adding a couple of entries to our .env.local file:
The TypingDNAWrapper will be used as a new service. In order to have Symfony autowire it when we need it, we will have to create a special configuration for it inside the services.yaml file, since the constructor has some parameters that need to be defined.
Simply open the file app/config/services.yaml and add the following to the bottom:
This will have Symfony grab all the configuration from the .env.local file and use it to instantiate the service.
Updating the workflow
At this point you have everything you need to interact with TypingDNA! You just need to make a couple of adjustments to tie it all together and actually have the user confirm their identity.
Add the phone number to the User class
We are going to use the user’s phone number as the root of trust. To do that we will need to store it somewhere.
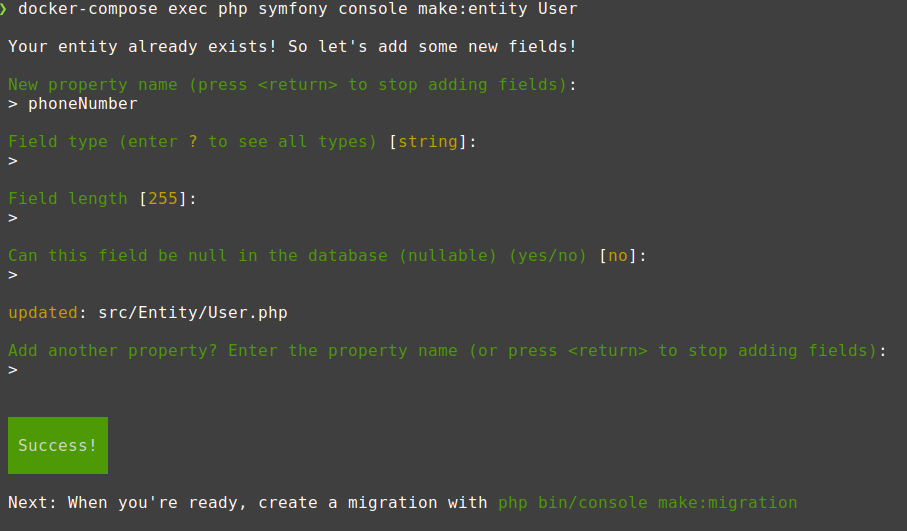
The best way to go about this is to add a new property to the User class. Start with the command docker-compose exec php symfony console make:entity User.
Since our User class is already defined, we’ll only be adding a new field to it, name it phoneNumber:
Then use the command docker-compose exec php symfony console make:migration to produce the code to update the database and finally run the migration with docker-compose exec php symfony console doctrine:migrations:migrate -q.
Now all you have to do is add the phone number to the user in the database.
In this case we’ll do it by updating the UserFixtures class.
The load method should look like this:
public function load(ObjectManager $manager)
    {
        $user = new User();
        $user
            ->setPassword($this->passwordHasher->hashPassword($user, 'p4ssW0rd!'))
            ->setEmail('mauro.chojrin@leewayweb.com')
            ->setPhoneNumber('00YOUR_NUMBER')
        ;

        $manager->persist($user);
        $manager->flush();
    }
After that just reload the fixtures to the database using this command: docker-compose exec php symfony console doctrine:fixtures:load -q.
Prepare the integration
The next step is to add the 2FA to the login process. To do that you’ll have to change the class SecurityController, adding the following methods:
Don’t forget to add the following at the top, otherwise the code won’t work.
use App\TwoFactorAuthentication\TypingDNAWrapper;
use Symfony\Component\HttpFoundation\Request;
With these changes to the code we’re setting the stage for the application to trigger TypingDNA’s verification.
Upon successful verification the user will be granted a new role ('TWO_FACTOR_PASSED') which we will use as a means of confirmation that they are who they say they are.
Add templates
We already have the backend ready for interacting with TypingDNA’s API, it’s time to get the frontend in sync.
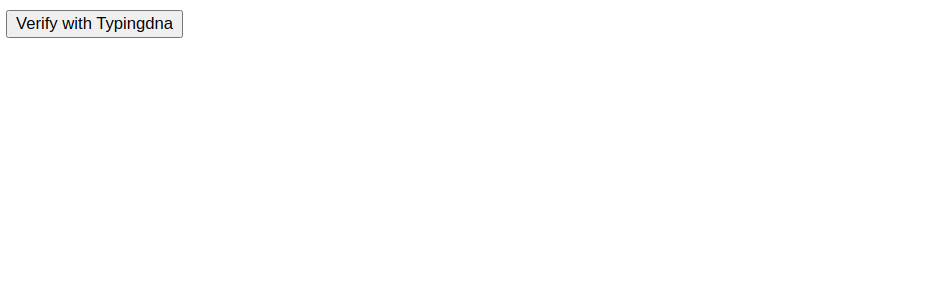
We’ll start by creating two new templates inside the security subdirectory. The first will be templates/security/verify.html.twig.
This template will serve as entrypoint to Verify 2FA’s workflow:
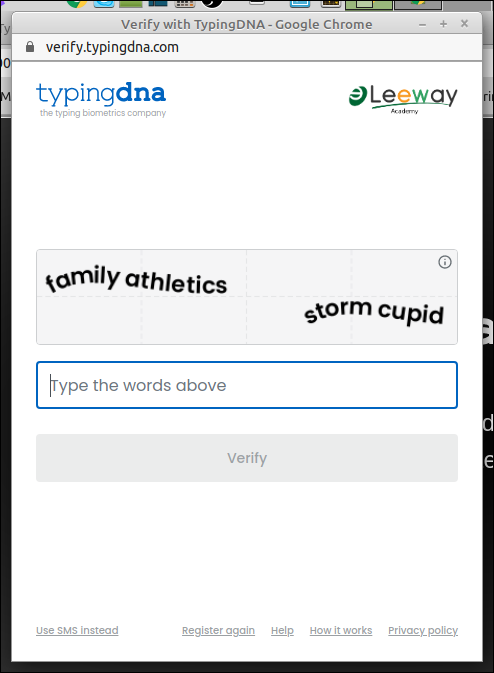
If you click the button you should see a popup window similar to:
Follow the instructions in there and you’ll finally be redirected to the user Dashboard.
Great! Integration with TypingDNA is working, all that’s left is to close the circle by having the 2FA be mandatory in order to gain access to the protected area.
Update the redirection after login
The first step here is to have the user redirected to the verification screen upon successful login. To do that, open the file app/src/Security/LoginAuthenticator.php and change the method onAuthenticationSuccess to return a redirection to app_verify_otp instead of dashboard.
Update security definition
The final step is to update the firewall configuration to disallow access to the dashboard to users that don’t have the role 'TWO_FACTOR_PASSED'.
Open the file app/config/packages/security.yaml and change the contents of the key access_control to:
Try it out. Log out and log in again to see what happens.
Conclusion
And you’re done! In this tutorial you learned how to integrate TypingDNA’s Verify to increase the security of a Symfony application.
A couple of tasks you might want to undertake in order to improve on this proof of concept application are:
Move the javascript inclusion to WebPack
Have the login method check the 2FA not only at /login but also upon attempts to directly access the protected area.
If you want to take a closer look at the sample code you can check out this repository.
For the production environment, in order to be able to send SMS OTPs you will need to integrate with Twillio in the Verify 2FA dashboard. First log in to your Twillio account and then click on the following button from the dashboard:
Share this message across Slack, email, etc. We even jotted down some of the highlights to make it easier.
Check this out! 🚀 Found a cool way to 2FA our users: TypingDNA Verify 2FA. It authenticates people based on how they type — replacing authenticator apps and OTP codes. Awesome user experience! 🙌 Quick integration too (under 10 mins). And we can try it free with 100 users. What do you think? https://www.typingdna.com/verify