🎉 TypingDNA is being recognized by Frost & Sullivan as a leader in the category of Biometric Verification Solutions. Get report

Setup 2FA with TypingDNA Verify on a NodeJS web application that is using Keycloak - Standard Integration

Goal

The aim of this tutorial is to lay out the steps for integrating TypingDNA Verify 2FA on a basic Node.js website that is using Keycloak as the Identity and Access management solution.

Intro

In this tutorial we will build a sample web application that is using TypingDNA Verify 2FA. The user will first introduce the username and password that will be verified by Keycloak, and that information will then be used by TypingDNA Verify for a second factor of authentication. We will cover all technologies that are needed to run a simple demo on a local machine.

Prerequisites

In order to create a working example of TypingDNA Verify 2FA, the following actions need to be taken:

  1. Create an account on typingdna.com. The Verify 2FA dashboard will provide you with the clientID, secret and applicationID.

  2. Add two-factor authentication to Keyclock with TypingDNA Verify 2FA
  3. Setup ngrok. Ngrok creates a public url that will link to your localhost environment. For security purposes, TypingDNA Verify 2FA will only run on a public url. Ngrok can be downloaded from the following link: https://ngrok.com/.

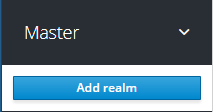
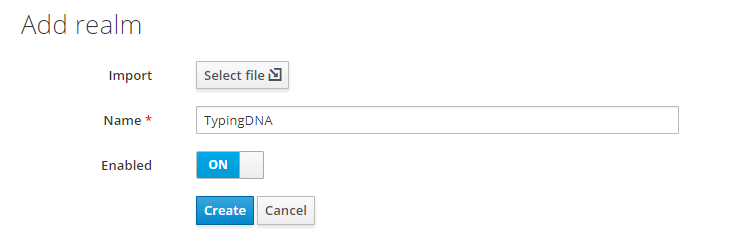
Keycloak Configuration

We will be setting up Keycloak on a localhost using a Windows machine.

Make sure you have OpenJDK 1.8 or newer installed.

First step is to download and extract keycloak-15.0.2.zip from the Keycloak website.

Navigate to the new extracted folder, then to start Keycloak run the following command.

bin/standalone.bat

Once Keycloak has booted up, open http://localhost:8080/auth, then fill in the form with your preferred username and password.

How to enable 2 factor authentication in Keycloak

Now that Keycloak has been set up to run on our localhost we will start designing our application.

Website Configuration

Let’s create a simple website application. We will be using a lot of the information from the tutorial on TypingDNA Verify from Tech with Tim so for more detailed information please check out his video tutorial.

Create a basic node.js application using the following command:

npx express-generator website

Delete the bin, public and routes folders.

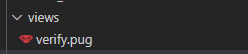
Delete the 3 jade files inside the views folder.

Edit the app.js such that it will have the following code:

            
const express = require('express');
const path = require('path');

const app = express();

// view engine setup
app.set('views', path.join(__dirname, 'views'));
app.set('view engine', 'jade');


From the package.json file remove the following dependencies: morgan, http-errors and cookie-parser.

            
"dependencies": {
    "debug": "~2.6.9",
    "express": "~4.16.1",
    "jade": "~1.11.0"
}


Next change directory to the website directory and run npm install.

Next run npm install pug typingdna-verify-client keycloak-js

Website Development

We will start by creating a router:

            
const router = express.Router();


And we will also add:

            
app.use("/", router);
app.listen(3000, () => {
    console.log ("Listening on port 3000");
});


Change

            
app.set('view engine', 'jade');


To

            
app.set('view engine', 'pug');


And out app.js file will look like this:

            
const express = require('express');
const path = require('path');
const app = express();

const router = express.Router();

// view engine setup
app.set('views', path.join(__dirname, 'views'));
app.set('view engine', 'pug');
app.use("/", router);
app.listen(3000, () => {
    console.log ("Listening on port 3000");
});


Create the file verify.pug in the views folder.

We will populate the following code in the verify.pug file:

            
html
    head

    body
        h1 TypingDNA Verify 2FA


And in the app.js we will add.

            
router.get("/verify", (req,res) =>{
    res.render("verify");
});


Next navigate to the folder where ngrok was downloaded and run the following command:

Ngrok.exe http 3000

And you will see a window similar to this:

Now start your web application using:

node .\app.js

And access the link from your ngrok window and forward slash verify: https://8008.11-111-11-11-11.ngrok.io/verify.

And you will see this window.

Securing web apps in Keycloak with 2FA

Next we are going to add the TypingDNA Verify 2FA information to our code.

Run npm install typingdna-verify-client.

            
const typingDnaVerifyClient = require("typingdna-verify-client");

const typingDnaClient = new typingDnaVerifyClient({
    clientId: "1",
    secret: "1",
    applicationId: "1"
});


The clientID, secret and applicationID are available on the TypingDNA Dashboard.

To generate the ApplicationID, navigate to the Integration section and click on “Manage”.

Select “Add new integration”. Select a desired name under Integration name and under the domain please paste the ngrok domain (without https).

TypingDNA Verify 2FA integration with Keycloak

Then click on “Create integration” and a new integration will appear that will have an applicationID.

If you are running your website under a different domain please create a new integration.

Next we will generate the data attributes and we will update our router:

            
router.get("/verify", (req,res) => {

    const typingDnaDataAttributes = typingDnaClient.getDataAttributes({
        email: "demo@typingdna.com",
        language: "EN",
        mode:"standard"
    });

    res.render("verify", typingDnaDataAttributes);
});


Next we will pass the attributes to our page and we will modify the verify.pug file.

Add in the head section:

            
script(src="https://cdn.typingdna.com/verify/typingdna-verify.js")


Under H1 we will add our TypingDNA Verify button.

            
button(
    class = "typingdna-verify",
    data-typingdna-client-id= `${clientId}`,
    data-typingdna-application-id= `${applicationId}`,
    data-typingdna-payload= `${payload}`,
    data-typingdna-callback-fn= "callbackFn"
)  Verify 2FA with TypingDNA


After the user has typed the 4 words, an OTP code will be generated and the callbackFn will be called. In order to process this new OTP code we will add the following javascript code.

            
script.
    function callbackFn(payload) {
        window.location = window.origin + "/result" + "?otp=" + payload.otp
    }


So our verify.pug file will look like this:

            
html
head
    script(src="https://cdn.typingdna.com/verify/typingdna-verify.js")
    script.
        function callbackFn(payload) {
            window.location = window.origin + "/result" + "?otp=" + payload.otp
        }
body
    h1 TypingDNA Verify 2FA
    button(
        class = "typingdna-verify",
        data-typingdna-client-id= `${clientId}`,
        data-typingdna-application-id= `${applicationId}`,
        data-typingdna-payload= `${payload}`,
        data-typingdna-callback-fn= "callbackFn"
    )  Verify 2FA with TypingDNA


Next we will implement our result page:

            
router.get("/result", (req,res) => {
    const otp = req.query.otp;

    typingDnaClient.validateOTP({
        email:"demo@typingdna.com",
    },otp)
        .then((data) => {
            res.render("result", {
                success: `Authentication ${data.success === 1 ? "Successful" : "Failed"}`
            });
        });
});


And we will create a result.pug file.

            
html
body
    h1 Results
    h2=result


Keycloak Integration

First we will set up Keycloak.

Create a new realm:

Add a new client.

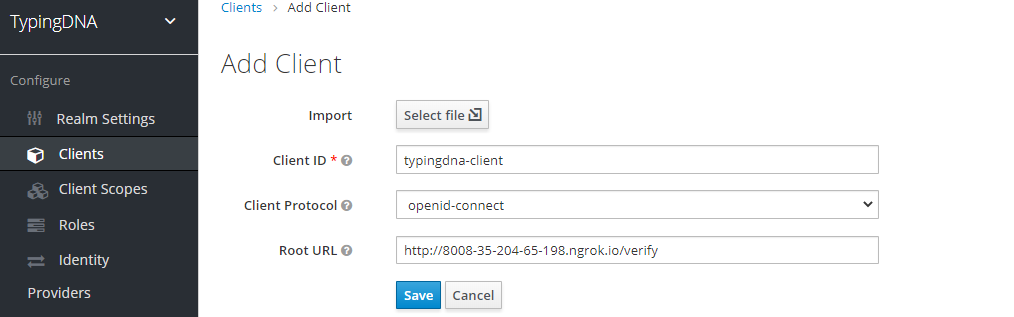
Note: Under the root URL we will use the http link for now. Other configuration changes are required to be made in keycloak in order to handle https requests that are outside of the scope of this tutorial. TypingDNA Verify 2FA will only function if it’s running from HTTPS.

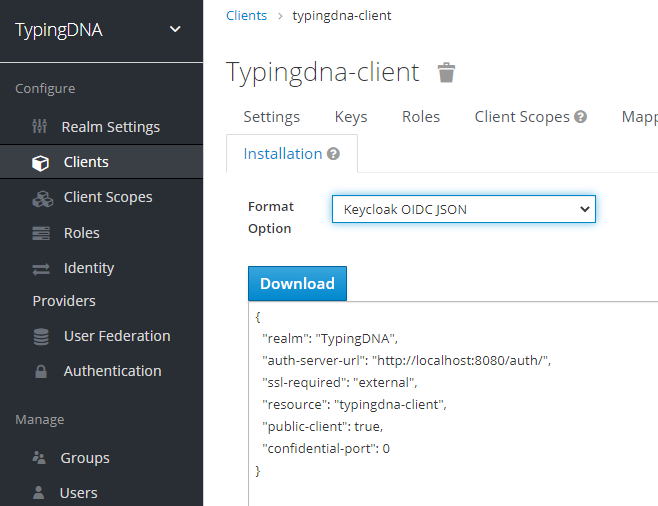
Navigate to the installation tab of the new client that you have created and copy the information from Keycloak OIDC_JSON.

TypingDNA client and Keycloak MFA configuration

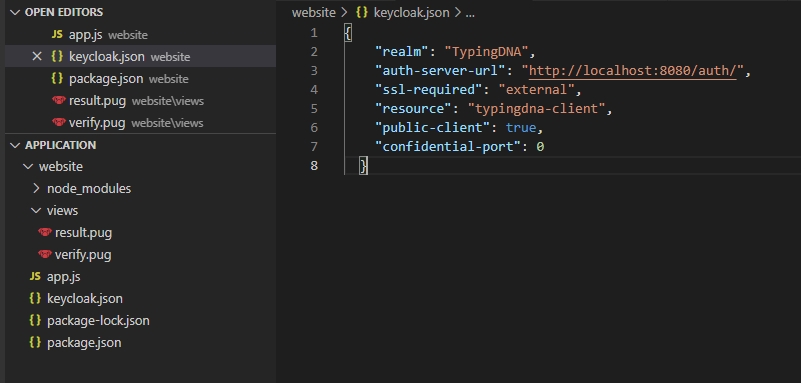
Create a file called keycloak.json and copy the content:

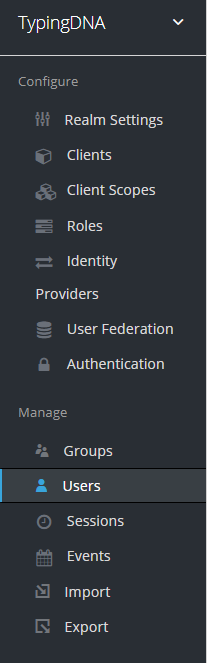
Navigate to the users section.
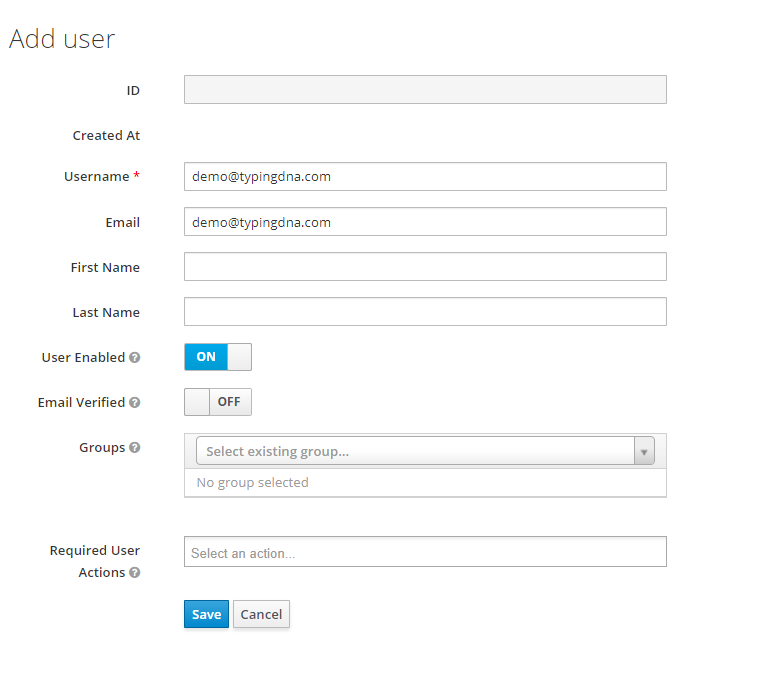
Add a new user.

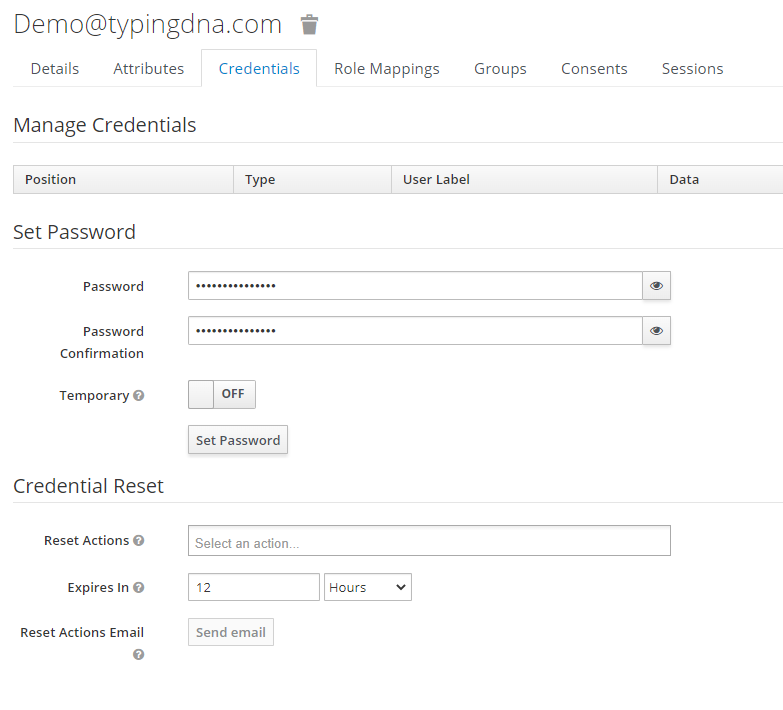
Select the password under credentials:

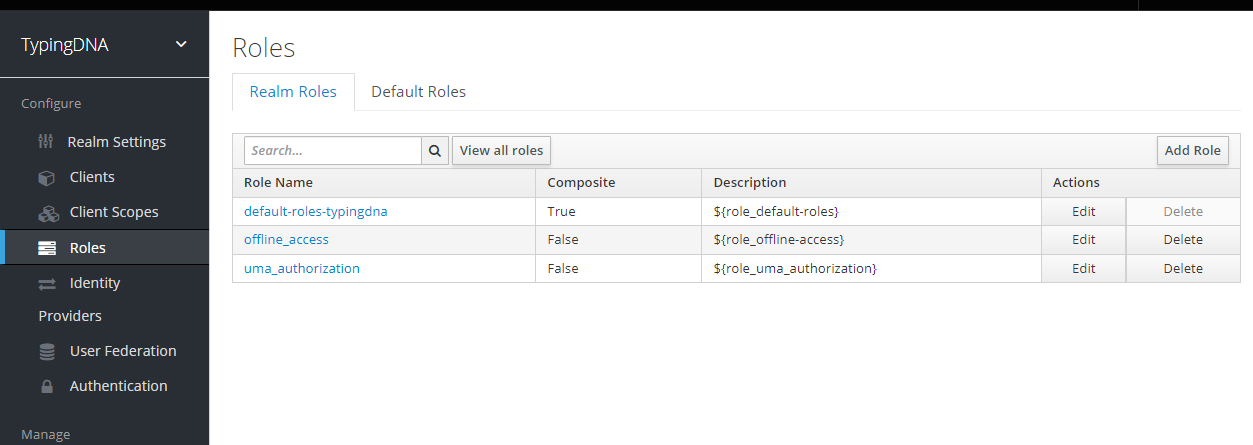
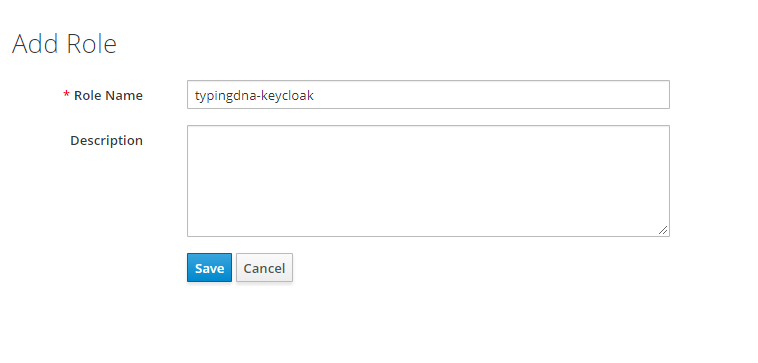
Navigate to the Roles page.

Create the role: “typingdna-keycloak”.

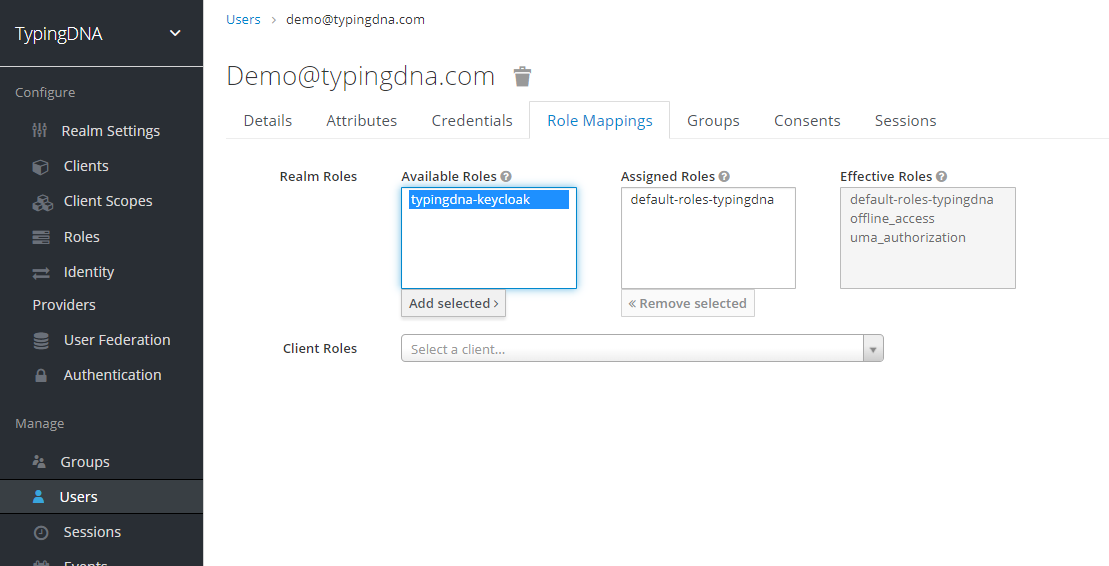
Then navigate to the role mapping tab of the user and assign the new created role to the user.

In order to integrate with keycloak we will add more dependencies in our package.json file:

Run npm install jwt-decode keycloak-connect express-session

At the beginning of the app.js file we will add:

            
const Keycloak = require("keycloak-connect");
const session = require("express-session");
const jwt_decode = require("jwt-decode");

const memoryStore = new session.MemoryStore();
const keycloak = new Keycloak({ store: memoryStore });


Add the following code.

            
app.use(
    session({
        secret: "secret1",
        resave: false,
        saveUninitialized: true,
        store: memoryStore,
    })
);

app.use(keycloak.middleware({ logout: "/logout" }));


Protect the verify page with keycloak and add the user from the keycloak token.

            
router.get("/verify", keycloak.protect("realm:realm:typingdna-keycloak"), (req,res) => {

    const { access_token } = JSON.parse(req.session["keycloak-token"]);
    const { email } = jwt_decode(access_token);

    const typingDnaDataAttributes = typingDnaClient.getDataAttributes({
        email: email,
        language: "EN",
        mode:"standard"
    });

    res.render("verify", typingDnaDataAttributes);
});


Add a new page to logout the user.

            
app.get("/logout", (req, res, next) => {

    req.session.destroy();
    res.clearCookie("connect.sid", { path: "/" });

    return res.redirect("/");
});


Next we will update the result page to take the email into account and it will look like this:

            
router.get("/result", keycloak.protect("realm:typingdna-keycloak"), (req,res) => {

    const otp = req.query.otp;
    const { access_token } = JSON.parse(req.session["keycloak-token"]);
    const { email } = jwt_decode(access_token);

    console.log("keycloak email: ", email);

    typingDnaClient.validateOTP({
        email:email,
    },otp)
        .then((data) => {

            if(data.success === 0) {
                return res.redirect("/logout");
            }

            res.render("result", {result: "Authentication Successful"});
        });
});


Testing

Start Keycloak and start the web application with the command node .\app.js.

Access in a browser the ngrok link.

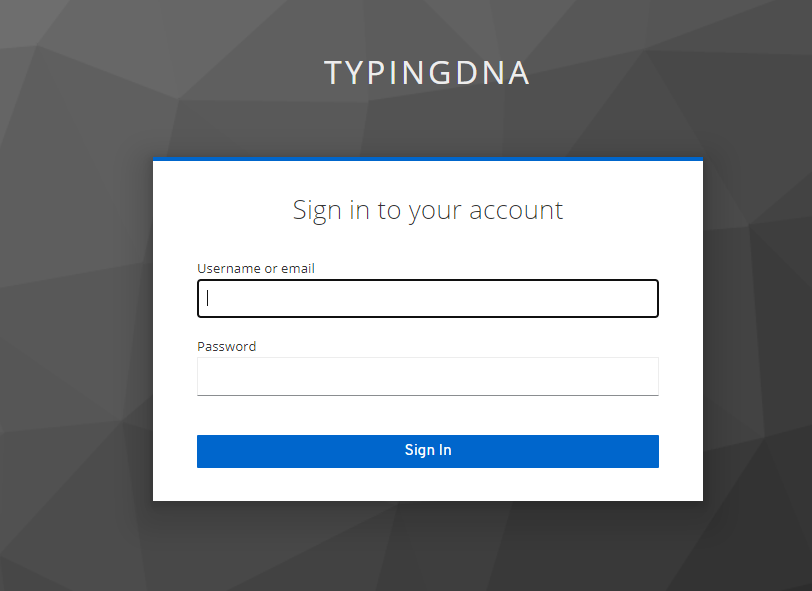
The user is redirected to the keycloak login page:

Enter the credentials and select the sign in button.

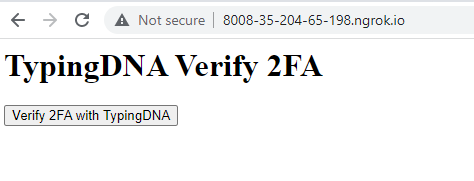
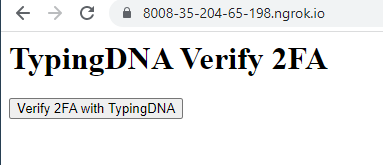
The user is redirected to the 2FA page.

Note: if the SSL/HTTPS redirect is not set up you will have to manually redirect the link. Adding SSL/HTTPS redirects is outside the scope of this tutorial.
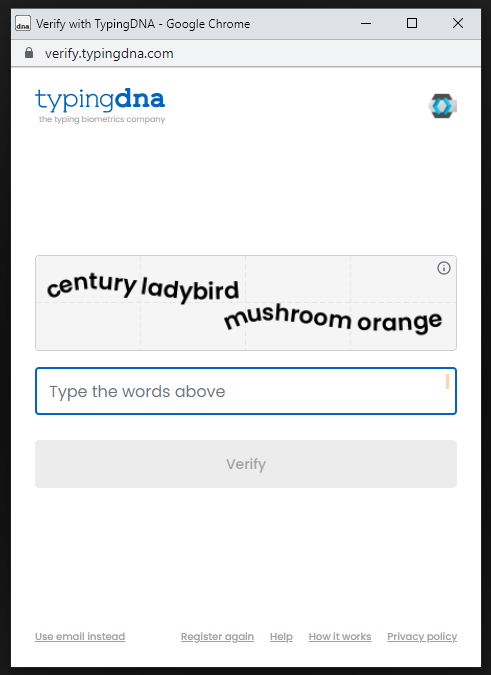
Select the “Verify 2FA with TypingDNA” and type the 4 words presented on the screen.

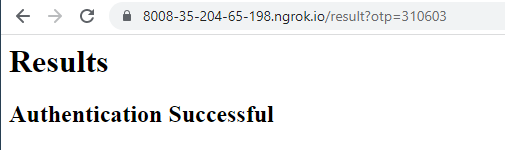
Once the 4 words are typed the user is redirected to the result page where the message “Authentication Successful” is presented.

For more information please contact us at support@typingdna.com.

Tell your team there’s a better way to 2FA

Share this message across Slack, email, etc. We even jotted down some of the highlights to make it easier.

Check this out! 🚀 Found a cool way to 2FA our users: TypingDNA Verify 2FA. It authenticates people based on how they type — replacing authenticator apps and OTP codes. Awesome user experience! 🙌 Quick integration too (under 10 mins). And we can try it free with 100 users. What do you think? https://www.typingdna.com/verify

Copy